Hubspot tickets are used to keep track of customer communications and events. They can be created with as much or little information as you have access to.
First, you will need to open HubSpot. If your default page is not the tickets page then click the service drop-down menu. Then click the tickets button. 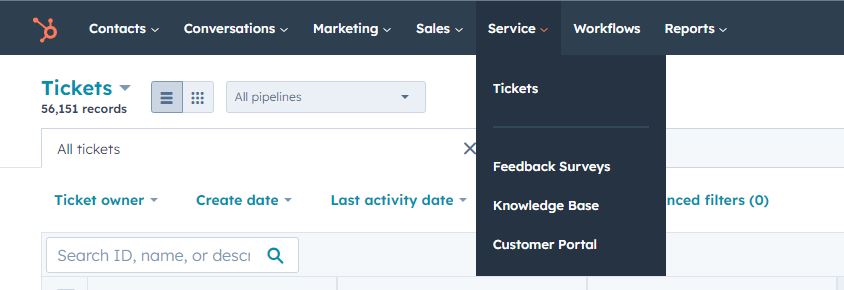
Once this has been done you will see the tickets page. Make sure you have the tickets organized into columns, not a list. This makes navigating the tickets page much more manageable.
To create a ticket you will need to click the orange "create ticket" button in the upper right portion of the page.
In the pop-up menu on the right enter a name for the ticket, and make sure you have selected the correct pipeline and ticket status.
You can enter any information you have in the pop-up menu. The most important information to enter is generally the contact info for the customer and the description of the event that caused this ticket to be created.
Once the ticket is created you will be able to find it on the tickets page. Once the ticket is opened you can send emails to the customer and/or a description of the events to the ticket.